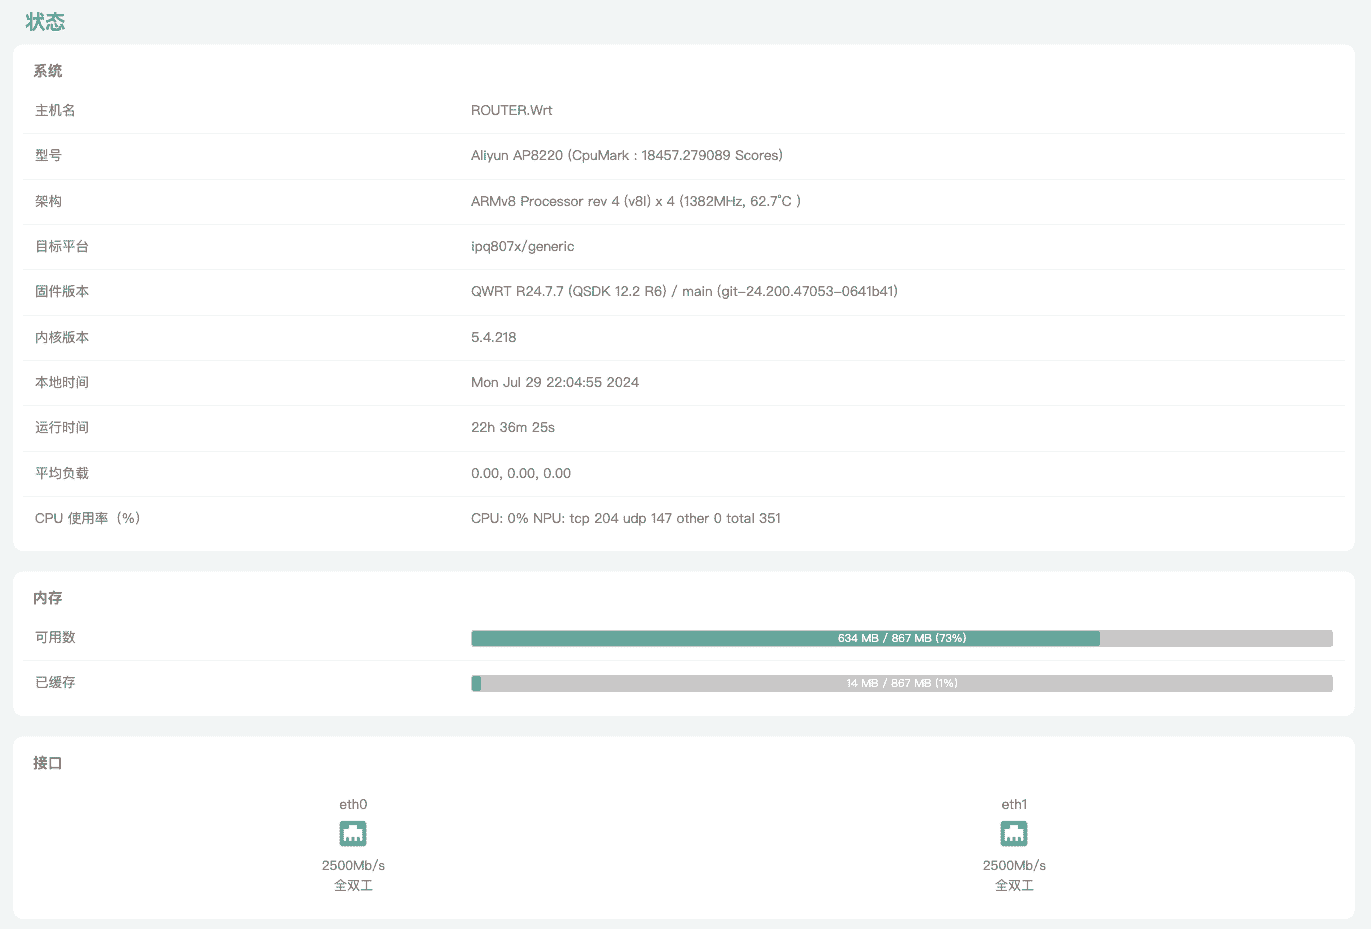
I was getting ready to upgrade my home network to 2.5G and picked up an Alibaba Cloud AP8220 off Xianyu to mess around with. Flashing documentation for this unit was almost nonexistent, and it took me two full days of trial and error to get it working. Writing this down so others have a reference.
Warnings
- If you don’t really need to flash it, don’t.
- Flashing carries real risk—be mentally prepared to brick the unit.
- Try this at your own risk. I am simply sharing what worked for me.
What You Need
- An Alibaba Cloud AP8220 unit (usually around 200 RMB secondhand).
- A 12V/2A DC power supply (does not come with one).
- A USB-to-Console cable.
tftp32.exe.- PuTTY.
- OpenWrt firmware (at the time of writing, only LEAN’s paid build was available, which I cannot distribute—hopefully more community ports will appear).
Entering U-Boot
Connect the USB-to-Console cable to the device’s console port, and plug an Ethernet cable into its LAN port.
In PuTTY, open a Serial connection on COM3 (check Device Manager on your PC for the exact COM port), with the baud rate set to 115200.
Power on the device and immediately press Shift + @ repeatedly to interrupt boot and drop into U-Boot. If it boots past it, power cycle and try again.
Set your computer’s static IP to 192.168.10.1.
Flashing the Large Partition Table
Download mibib.bin and place it in the same directory as tftp32.exe. Open TFTP32 and bind the server interface to 192.168.10.1.
In PuTTY, run:
tftpboot mibib.bin
flash 0:MIBIB
Once flashing finishes, pull the power plug.
Flashing the Firmware
Power the unit back on and interrupt the boot again to return to U-Boot.
Take the firmware image ending in factory.bin, rename it to ap8220.bin, and drop it into the tftp32.exe directory.
In PuTTY, run the following commands to flash the rootfs and set the boot arguments:
tftpboot ap8220.bin
flash rootfs

set boot3 "set mtdparts mtdparts=nand0:0x8000000@0x0(fs)"
set boot4 "ubi part fs && ubi read 42000000 kernel"
set setup1 "partname=1 && setenv bootargs ubi.mtd=rootfs ${args_common}"
set setup2 "partname=2 && setenv bootargs ubi.mtd=rootfs ${args_common}"

saveenv
Once that completes, power off the unit.
Power it back on and let it boot up normally.
Switch your computer back to DHCP. Head to http://192.168.1.1 in your browser to open the LuCI web interface.
From there, flash the sysupgrade.bin file through the web UI.
Done!